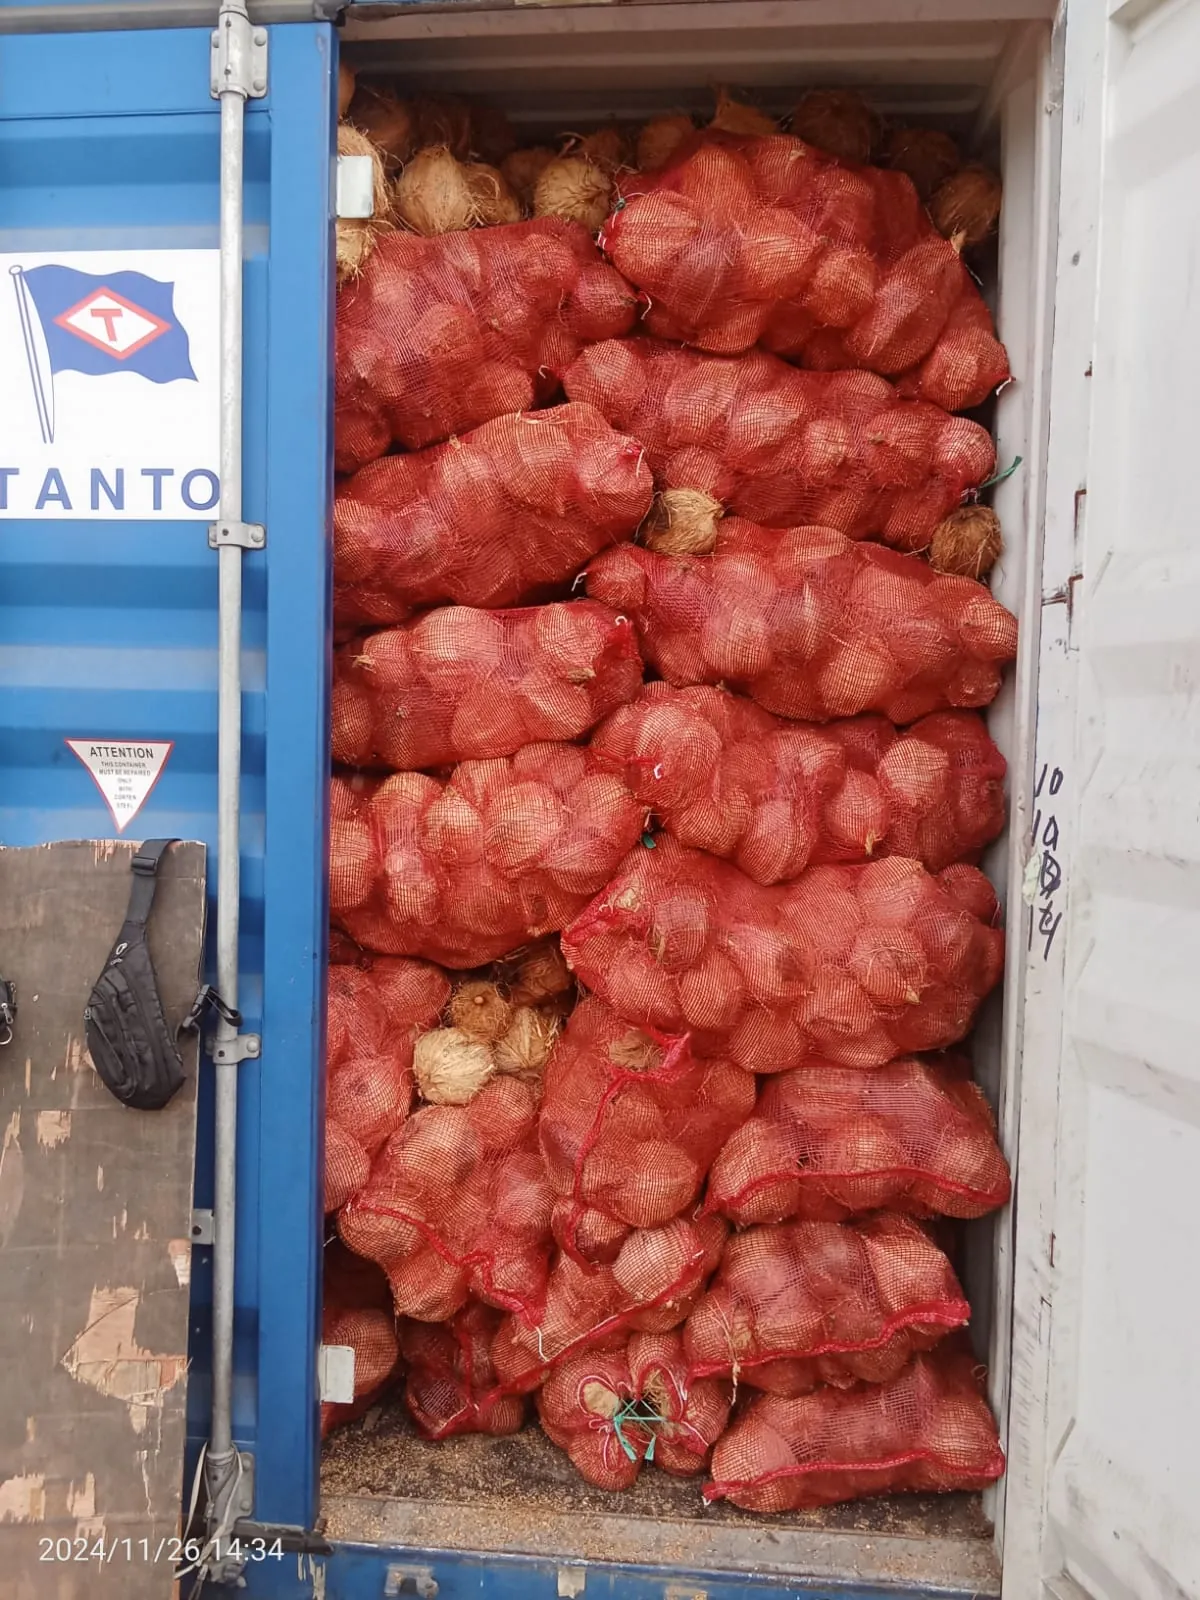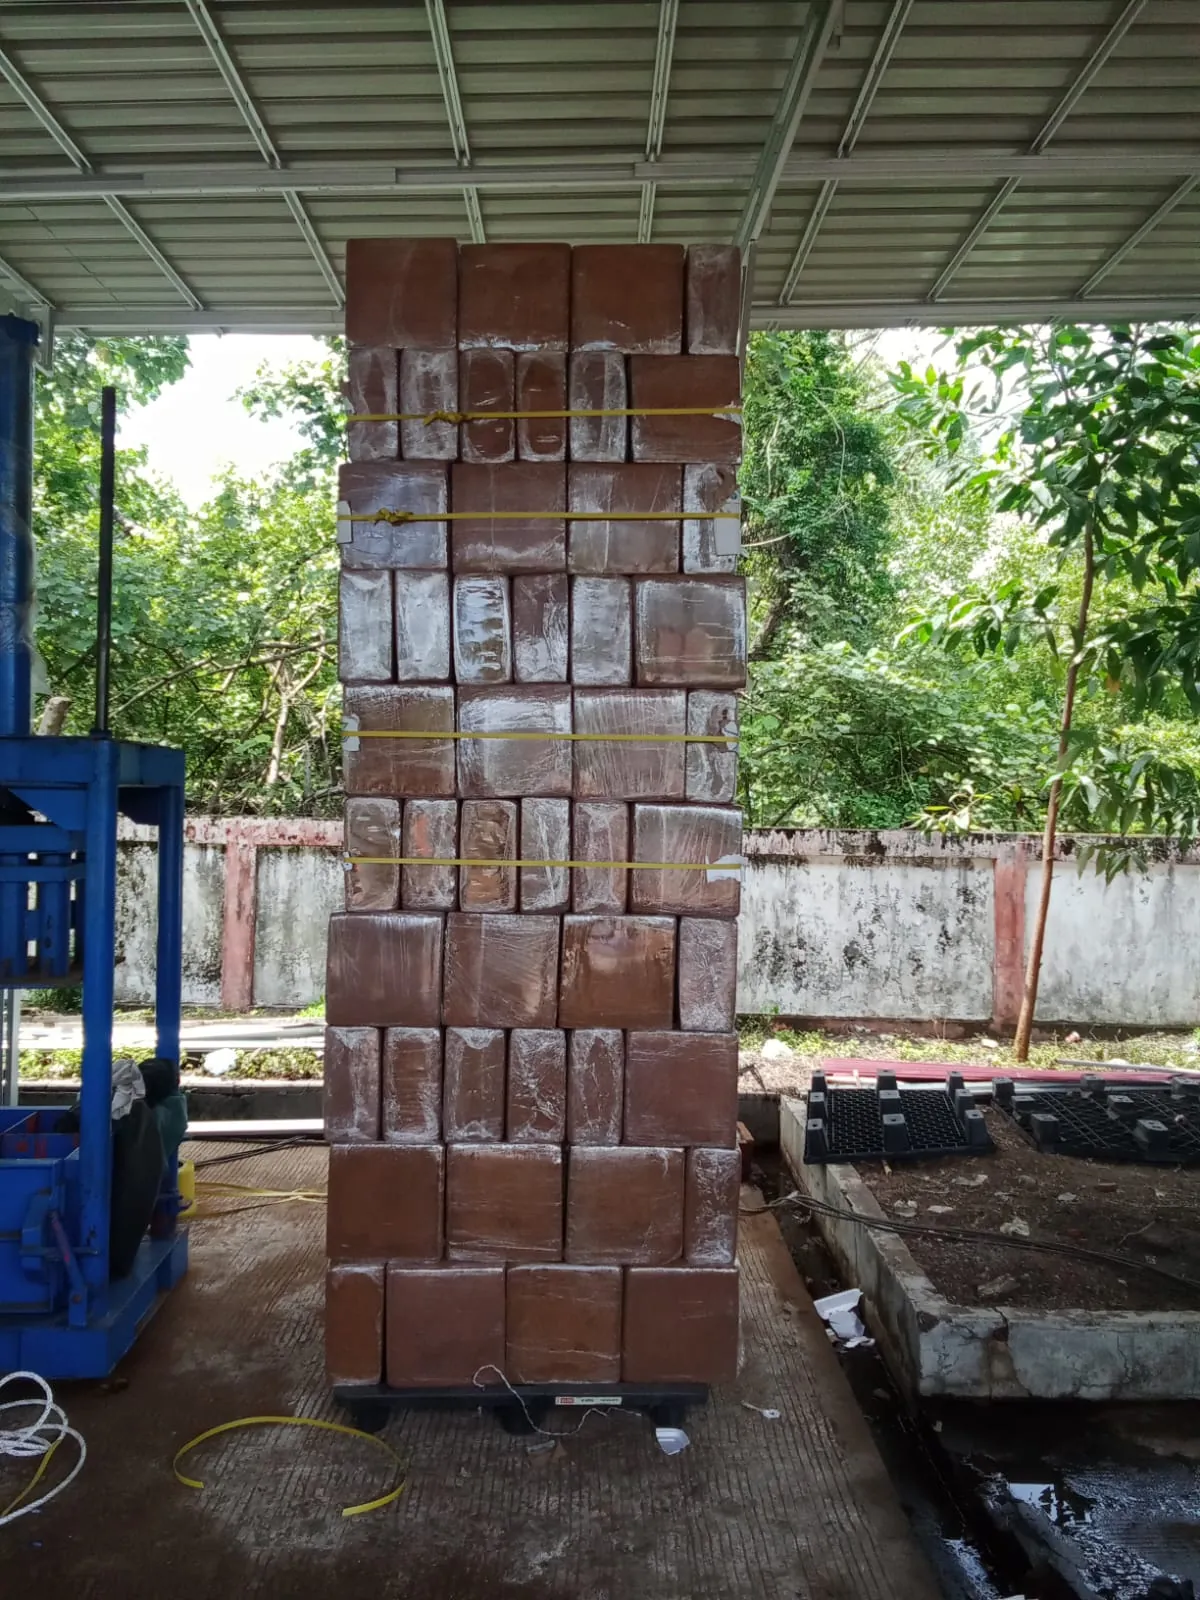
The container is at the port, the paperwork cleared, and a forklift is about to pull the first pallet. This is the point where most cocopeat problems either get caught or get paid for. Once the blocks are mixed into a substrate, spread across benches or sold on, nobody can prove what arrived.
To test cocopeat quality on arrival, check the packaging and pallets first, then pull sample blocks from several positions in the container. Measure EC and pH on a water extract, run an expansion test, and look at fibre, dust, smell and moisture. Photograph and record everything before you accept the shipment, and compare the results with the spec sheet you agreed.
You don’t need a laboratory for the first pass. A handheld EC/pH meter, a bucket, a scale and an hour will catch most of what goes wrong. Send a retained sample to a lab if the numbers are close to a limit or money is in dispute.
Before You Open Anything: What to Prepare
Arrival testing only works if you know what you are testing against. Pull these together before the container lands:
- The spec sheet or purchase agreement, with the EC and pH targets, block weight and expansion volume.
- The packing list, so you can match pallet and block counts.
- A written tolerance, for example how much deviation in block weight you will accept.
- A camera, a marker for labelling samples, clean buckets, and a scale accurate to a few grams.
- A calibrated EC/pH meter with fresh calibration solutions. A drifting meter produces a confident wrong answer.
If no spec was agreed, you can still inspect, but your leverage is thin. Our guide on choosing a cocopeat supplier explains which numbers belong in the agreement, and the first-order import guide covers where an inspection clause fits next to payment terms.
Step 1: Inspect the Container and Pallets
Start at the doors. Is the seal number the one on the bill of lading? Is the floor dry? Wet patches, rust stains on the walls or a musty smell point to condensation or a leak during transit.
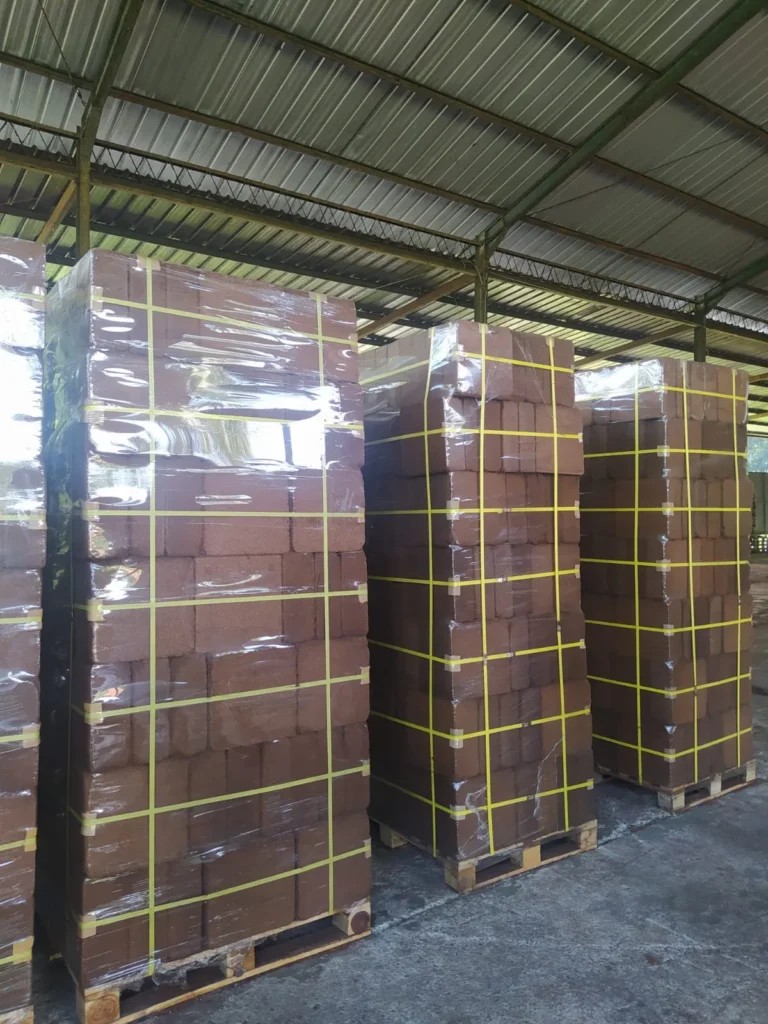
Then look at the load itself. Pallets should be upright, wrapped and strapped, with no crushed corners. Count them against the packing list. Compressed blocks are dense and tolerate rough handling better than loose material, but split wrapping and torn bags are an easy way for moisture and dirt to get in.
Photograph the container with the doors open before you unload. This is the picture that matters most if there is a later claim.
Step 2: Take Samples From Several Positions
One block from the front proves nothing. Cocopeat can vary between batches, and the top of a stack behaves differently from the bottom. Sample like this:
- Choose blocks from the door end, the middle and the far end of the container.
- Take from the top, middle and bottom layers of the pallets you can reach.
- Label every sample with its position and the date.
- Keep one sealed block per position untouched as a retained sample.
Five to ten blocks from a full container is a reasonable minimum for a visual check. For EC and pH you can combine material from several blocks into one composite, but test at least two composites so one odd block does not hide.
Step 3: Measure EC and pH
These two numbers decide whether cocopeat is safe for seedlings and sensitive crops. We explain what they mean in our guide to cocopeat import certificates. For growing media, supplier listings and industry guidance commonly cite EC below about 0.5 mS/cm and pH somewhere around 5.5 to 6.8, but your own agreed spec is what counts.
The practical method is a water extract:
- Expand a sample block or take a measured amount of loose material.
- Mix it with deionised or clean water at a fixed ratio. Commonly used ratios are 1:1.5 or 1:5 by volume, and the result depends on which one you choose, so use the same method your spec sheet names.
- Let it stand for 30 to 60 minutes, stirring now and then.
- Filter or let it settle, then measure EC and pH in the liquid.
Write down the ratio, the water used and the temperature. Without them the numbers can’t be compared with a lab report or the supplier’s certificate. If your reading is high, rinse a second sample and measure again to see how much washing it takes to bring it down. That tells you the cost of using the batch rather than rejecting it.
Step 4: Run an Expansion Test
A block is sold by weight, but you use it by volume. Supplier listings for 5 kg blocks commonly state an expansion of roughly 50 to 80 liters, though this varies with the product, so check your own sheet.
- Weigh a block and note the weight.
- Place it in a bucket or tub and add clean water gradually. Most blocks take several liters per kilogram.
- Wait until it has fully expanded and loosened, then break it up by hand.
- Measure the volume of the fluffed material in a marked container.
Compare the volume per kilogram with the spec. A block that expands far less than promised may be packed with extra fine particles or sand, or may simply be heavier per block than stated. Repeat on blocks from at least three positions.
Step 5: Check Fibre, Dust and Foreign Material
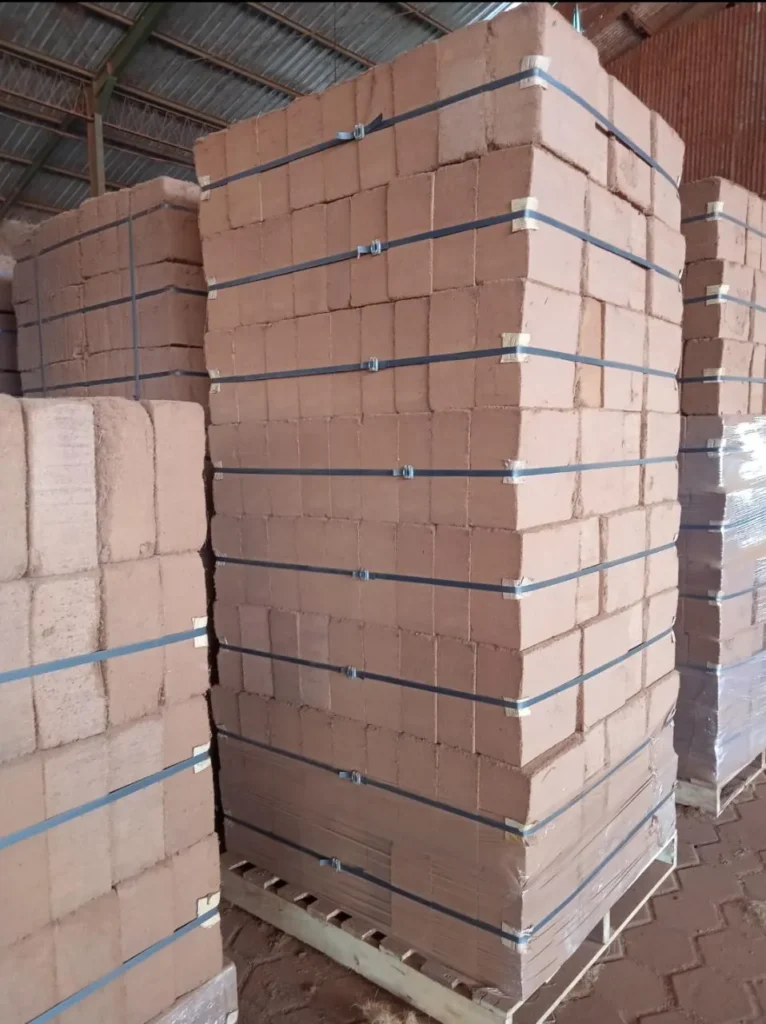
Once a block is expanded, look at what it is made of. Cocopeat is a mix of fine particles and short fibre. The balance affects water holding and drainage, so different crops want different mixes.
- Dust level. A very fine, powdery texture holds water but drains slowly.
- Fibre content. Too much long fibre makes the mix airy and quick to dry out.
- Sand and grit. Rub a handful between your fingers. Gritty material suggests contamination or poor sieving.
- Foreign material. Pieces of shell, plastic, wood or stones should be rare to absent.
- Colour. Uniform dark brown is normal. Patches that are grey, black or noticeably lighter can mean a mixed batch.
Take a close photo of each sample on a white background. Side-by-side pictures from different positions are persuasive evidence and make patterns easy to spot.
Step 6: Smell, Moisture and Mold
Your nose is a useful instrument. Fresh cocopeat smells earthy and mild. A sour, fermented or ammonia-like smell suggests the material was stored wet or hasn’t been properly processed. Any visible white or green mold on blocks is a red flag, especially near the container floor and doors.
For moisture, weigh a sample, dry it in an oven or a moisture analyser, and weigh it again. Compressed blocks are sold dry, and extra moisture means you pay freight on water and risk mold in storage. Compare the result with the moisture limit on your spec. If none was agreed, write that down as a lesson for the next order.
Step 7: Check Block Weight and Count
It sounds boring, and it’s where small shortfalls hide. Weigh at least 20 blocks and calculate the average and the spread. A listing for 5 kg blocks that delivers 4.6 kg blocks is an 8% shortfall on a price paid per ton. Count the blocks per pallet and the pallets per container and reconcile them with the packing list.
Our cocopeat wholesale price guide explains why block weight matters so much when you compare quotes.
What to Do When a Test Fails
Don’t argue from memory. Follow a short sequence:
- Stop using the material. Segregate the affected pallets and leave the rest untouched.
- Document it. Photos, readings, method notes, sample positions, dates.
- Notify the supplier in writing within the window your contract allows, attaching the evidence.
- Retest independently using a retained sample sent to an accredited lab if the difference matters financially.
- Agree a remedy. Depending on severity this can be a discount, a replacement, or a return. Decide what you want before you write the message.
Many problems are fixable. Slightly high EC can be washed out. Slightly short expansion can be priced in. The goal of testing is to decide with numbers rather than guesses.
A Simple Arrival Checklist
- Seal number and container condition checked and photographed
- Pallets counted, wrapping and straps inspected
- Samples taken from at least three positions, one retained
- EC and pH measured with the method recorded
- Expansion volume measured per kilogram
- Fibre, dust, grit and foreign material inspected
- Smell, moisture and mold checked
- Block weight averaged over at least 20 blocks
- Everything written down before the goods are accepted
How CelebesAgro Approaches This
We process our cocopeat from husk sourced through our own 1,300-hectare plantation and vetted local partners, and we hold Sucofindo certification. We would rather you test than trust us. Specs, packaging format and block details are agreed per order, and we are happy to discuss which checks matter for your crop or process before you buy.
Chat with us on WhatsApp with your crop, block size and destination port, and we will go through the specification with you.
Frequently Asked Questions
How do I test cocopeat quality when it arrives?
Inspect the container and pallets, sample blocks from several positions, then measure EC and pH on a water extract, run an expansion test, check fibre, dust, smell and moisture, and weigh a set of blocks. Record the method and keep a retained sample.
What is a good EC for cocopeat?
Supplier listings and growing-media guidance commonly cite below about 0.5 mS/cm for horticultural use, but the right number depends on your crop and the method used. Check the figure in your agreed specification.
Do I need a laboratory to test cocopeat?
Not for a first check. A calibrated handheld EC/pH meter, a scale and a bucket will catch most problems. Use an accredited lab for disputes or when results sit close to a limit.
How many blocks should I sample from a container?
Five to ten blocks from different positions is a reasonable visual minimum, and at least 20 blocks for weighing. Always keep one sealed block per position as a retained sample.
What if the EC is too high?
Rinse a test sample and remeasure to see how much washing is needed. If the batch is still usable, discuss a price adjustment with the supplier, supported by your readings and method notes.